Most of us know someone who is doing amazing things right now. Maybe a relative is an essential worker and working extra hours to make sure we have the things we need. Or, a friend is a healthcare worker and is helping people every day. You might know a parent who is trying to teach their kids, work, and keep it all together at home. Or, maybe you know someone who is quietly suffering at home from being disconnected from their normal routine. Let’s make a little work of art to make someone’s day brighter.
Gather some art-making materials (paper, pencils, markers, etc.) and start creating! Here are a few tips:
–If you plan to mail your card, make sure your card is slightly smaller than your envelope. I had some old birthday invitation envelopes laying around that I plan to use. They are about 4.5 inches by 6.5 inches, so my card is 4 inches by 6 inches. Decorate the envelope by thanking your mail carrier—brighten more than one person’s day!
–Don’t have any envelopes or stamps? Post a picture of your card on social media and tag your special person! You can also tag us #OKCMOAathome.
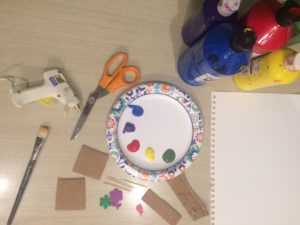
–Want to make several cards? Printmaking is a great way to make multiple images! First, gather these materials:
- Paper
- Glue (hot glue or school glue)
- Wooden blocks or stiff cardboard (These should be easy to hold in your hand. You will need one block/cardboard piece for each item you want to stamp.)
- Items to stamp (leaves, foam stickers, burlap, felt, corrugated cardboard, or any other item that is mostly flat with an interesting shape or texture)
- Scissors
- Paint and paintbrush (one paintbrush per color works best)
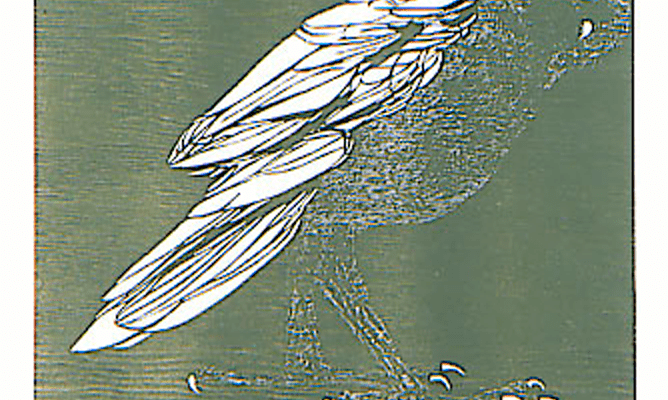
We’re going to make custom stamps that can be used to make multiple cards. Did you know that stamping is a form of printmaking? Printmaking is a way to make multiples of the same image. It can be done many ways, but it always involves creating an image on a master plate and transferring that image onto another surface. For instance, Leonard Baskin created this print of an owl (featured above) by carving wood to create a plate that was then inked and printed onto paper. For our card, the master plate will be the stamp. We will transfer the image from the stamp onto paper.
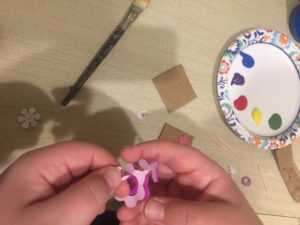
Step One: Gather your items to stamp. Use scissors to cut items such as burlap, felt, or cardboard into fun shapes.
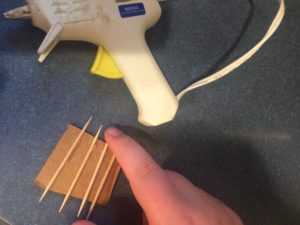
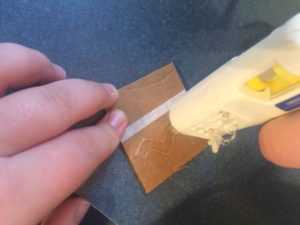
Step Two: Attach each item to a block of wood or cardboard. You can also use glue to draw a fun design!
Step Three: Allow glue to dry. You’ve made stamps! Hint: if your wood or cardboard is hard to hold, roll a small amount of cardboard and glue it to side of the wood/cardboard opposite your textured item to create a handle. Also, if making letters or numbers with stamps, make sure that letter/number appears backwards on the stamp so that it will be facing the correct direction when printed.
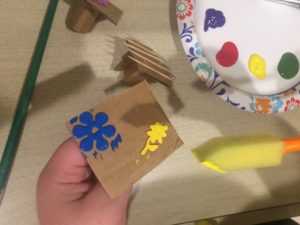
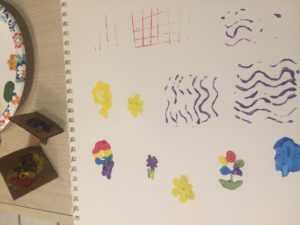
Step Four: Now, apply paint. Use paintbrush to apply a thin, even layer of paint and press onto paper. Hint: practice your stamps on a scrap piece of paper first and adjust the amount of paint accordingly.
Step Five: Now, stamp your cards!
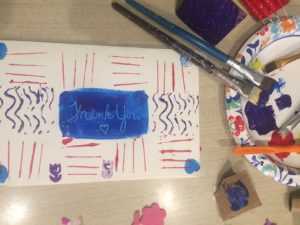
Step Six: Add inspirational messages and drawings with markers, crayons, pencils, or paint.
Step Seven: Send them (in the mail or digitally) to show your appreciation! Share the love with us at #OKCMOAathome!
